How to Face Swap in Photoshop: The Ultimate Guide
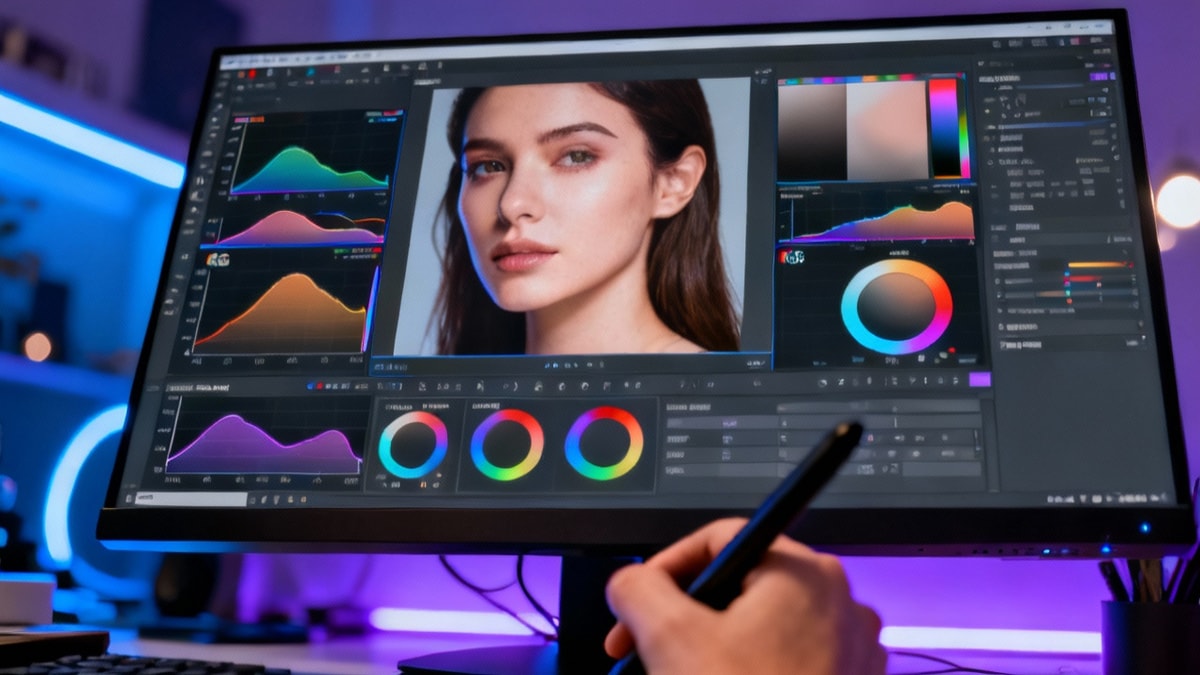
Have you ever captured the perfect group photo, only to find one person blinking or looking away? It is a common frustration that can ruin an otherwise flawless memory. Trying to fix this without the right technique often leads to mismatched skin tones, jagged edges, and 'Frankenstein' edits that look obviously fake. Nothing destroys the credibility of an image faster than a bad composite. Fortunately, learning how to face swap in Photoshop effectively solves this problem. If you utilize the classic Auto-Blend Layers technique for precision or leverage the new Powered by FLUX Generative Fill for speed, this guide covers the essential workflows to ensure your swaps are smooth, realistic, and professional.
Preparation: Aligning Your Source Images
Before diving into blending tools, the foundation of a realistic face swap lies in image selection and alignment. You cannot swap faces effectively if the lighting angles and head perspectives are drastically different.
- Open Both Images: Load the 'recipient' image (the body you want to keep) and the 'source' image (the face you want to use) into the same Photoshop document.
- Rough Alignment: Lower the opacity of the top layer (source face) to about 50%. Move and scale the source face using Free Transform (
Ctrl/Cmd + T) so the eyes and mouth align as closely as possible with the face underneath. - Check the Lighting: Ensure the light source is coming from the same direction in both photos. If one face is lit from the left and the other from the right, no amount of blending will make it look natural.


Method 1: The Auto-Blend Layers Technique
This is the industry-standard method for swapping faces between photos that share similar textures and lighting. It automates the color matching and masking process.
- Make the Selection: On the top layer, use the Lasso Tool to draw a loose selection around the facial features (eyes, nose, mouth). Avoid the hairline and jawline if possible.
- Create a Duplicate: With the selection active, press
Ctrl/Cmd + Jto duplicate just the face onto a new layer. You can now hide or delete the original full source layer. - Contract the Selection: Hold
Ctrl/Cmdand click the thumbnail of your new face layer to re-select it. Go toSelect > Modify > Contractand choose a value between 5-10 pixels. This ensures the blend happens inside the face area, not on the edge. - Delete the Base: Select the bottom layer (the recipient body) and press Delete (Backspace). This creates a hole underneath the new face, which is crucial for the blending algorithm.
- Execute Auto-Blend: Hold
Shiftand select both the face layer and the body layer. Go toEdit > Auto-Blend Layers. Choose Panorama and check Smooth Tones and Colors. Photoshop will automatically stitch the skin tones and texture.


Method 2: Using Generative Fill (AI)
For users with Photoshop 2024 or later, AI offers the fastest way to face swap, especially when replacing a face entirely rather than swapping from a specific file.
- Select the Area: Use the Lasso Tool to circle the face you want to replace on your original image.
- Input Prompt: In the Contextual Task Bar, click Generative Fill. If you want a random face, leave it blank. To swap with a specific description, type something like "face of a smiling man looking at camera."
- Refine: Click Generate. Photoshop will offer three variations.
Note: To swap a specific face from another file using AI, use the 'Reference Image' feature in the Generative Fill panel (if available in your version) or stick to Method 1 for specific pixel-perfect swaps.


Method 3: Manual Color Matching and Masking
Sometimes Auto-Blend fails. In these cases, manual color matching gives you total control over how to face swap in Photoshop.
- Match Color Command: Select your top face layer. Go to
Image > Adjustments > Match Color. In the 'Source' dropdown, select your current document. For the 'Layer' dropdown, select the background (body) layer. Adjust Luminance and Color Intensity until the skin tones look similar. - Fine-Tune with Curves: If the contrast is off, add a Curves Adjustment Layer clipped to the face layer. Adjust the Red, Green, and Blue channels individually to dial in the skin tone.
- Layer Masking: Add a Layer Mask to the face layer. Use a soft black brush to gently erase hard edges, blending the new face into the original head shape. Focus on high-frequency texture areas like the forehead and cheeks for the smoothest transition.